Send puppy contracts for signature or upload signed copies
6 minute readPro planUpdated September 2026
Set up a puppy contract template, fill it from the buyer record, and send it for electronic signature. You can also upload a contract you have already signed.
In this stage
Placing puppies
- Add a puppy buyer as a customer
- Create and send a puppy buyer application
- Manage your puppy waiting list and match buyers
- Send a puppy invoice and record a deposit
- ProSend puppy contracts for signature or upload signed copies
- Set up a puppy buyer portal
- See what buyers can view in their portal
- How buyers pay invoices and sign contracts
- Track puppy sales and go-home dates
- Add notes and files to breeding records
On this page
Why it matters
- One template, filled in from the family's record every time you send it.
- You sign, the family signs from an email, and the signed PDF returns to the puppy's record and their portal.
- A contract you signed on paper can be uploaded and shared the same way.
What is free, what is paid
Uploading a contract you have already signed works on every plan. It sits on the family's record and in their portal, the same as one signed online.
Create a puppy contract template
- Open Settings, then Contracts.
- Select Upload contract for your own PDF or Word file, or pick a starter, Deposit Agreement or Sales Contract.
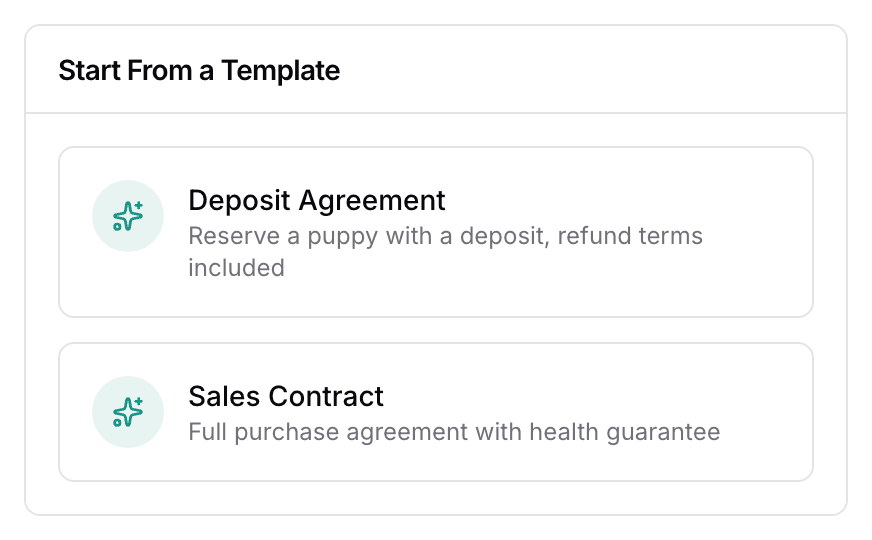
- The field editor opens, on a desktop screen.
A starter is plain text with blank lines and a signature block. The template it creates is named for the starter, so Sales Contract becomes Puppy Sales Contract in the list. Next, add the fields that will fill in buyer and puppy details.
Add contract fields and signature boxes
BoldSign, BreedTracker's electronic signature partner, provides the field editor inside BreedTracker. It needs a screen at least 1360 pixels wide, so a desktop or a large laptop.
- The recipient list above the palette starts on Breeder. Drag a Textbox onto each blank line.
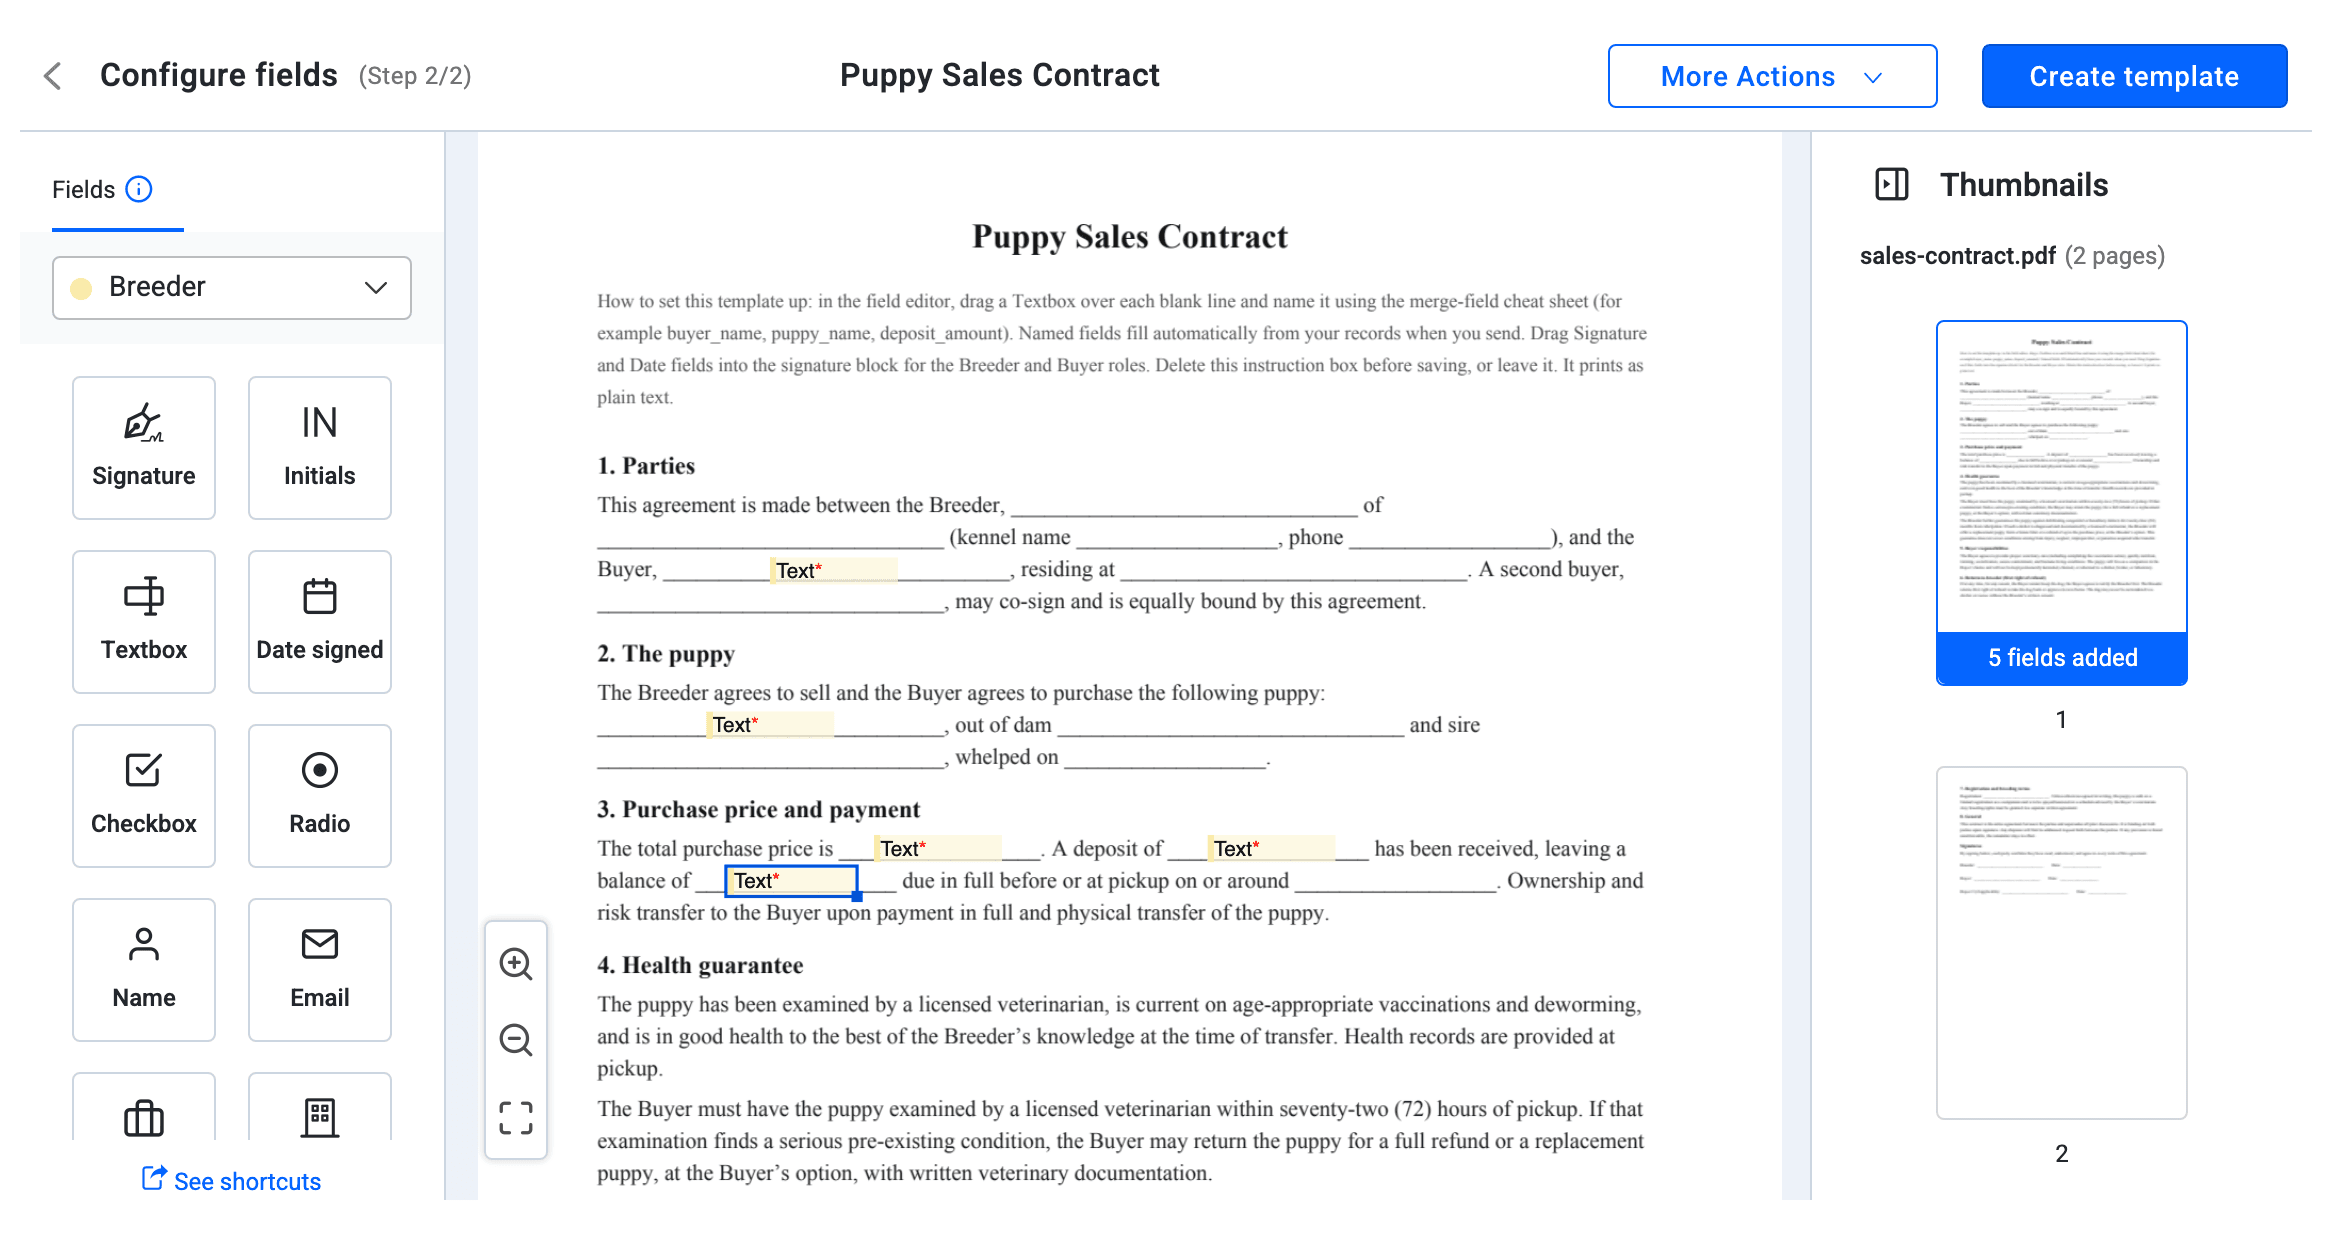
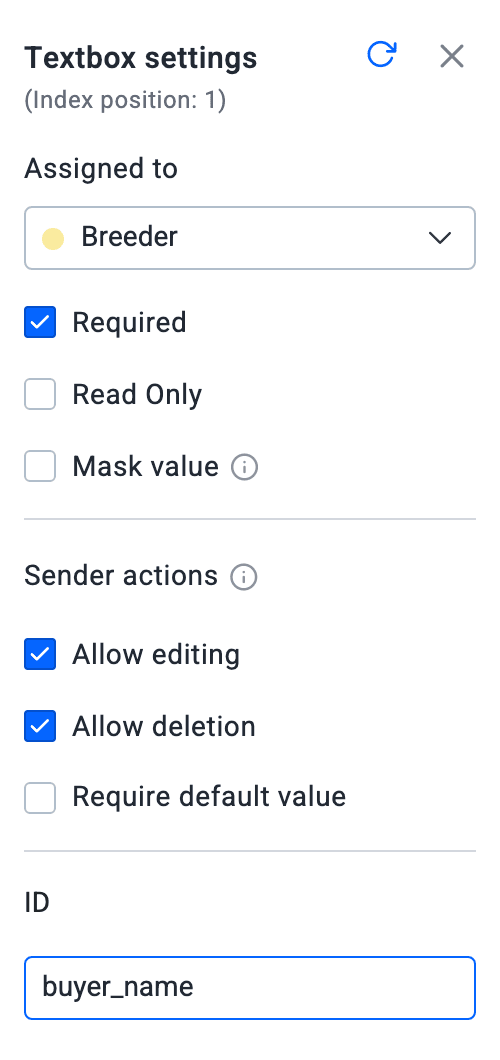
- Select a box and put a name from Auto-Fill Field Names into its ID, such as buyer_name.
- Drag a Signature and a Date signed box onto your own signature line.
- Switch the recipient list to Buyer.
- Drag a Signature and a Date signed box onto the family's line.
- Add a Textbox for anything the family fills in, and leave Required ticked. Add an Initials box beside a clause they should acknowledge.
- Select Create template.
The row then reads Ready to Use, over a line counting who fills what: BreedTracker, you, and the buyer. Field summary in the row menu lists every box and who it belongs to. Reopen a finished template and the same button reads Save template. Save and close, under More Actions, keeps a draft that is not ready to send.
Send a contract for electronic signature
- Open the family's page and select Actions, then Add contract, then Send for e-signature.
- Choose the Template and the Customer.
- Tick the puppy, and choose the Invoice if there is one, so price, deposit, and balance fill in.
- Select Continue to review.
- Check the boxes under Auto-Filled Fields, and set Expires after (days).
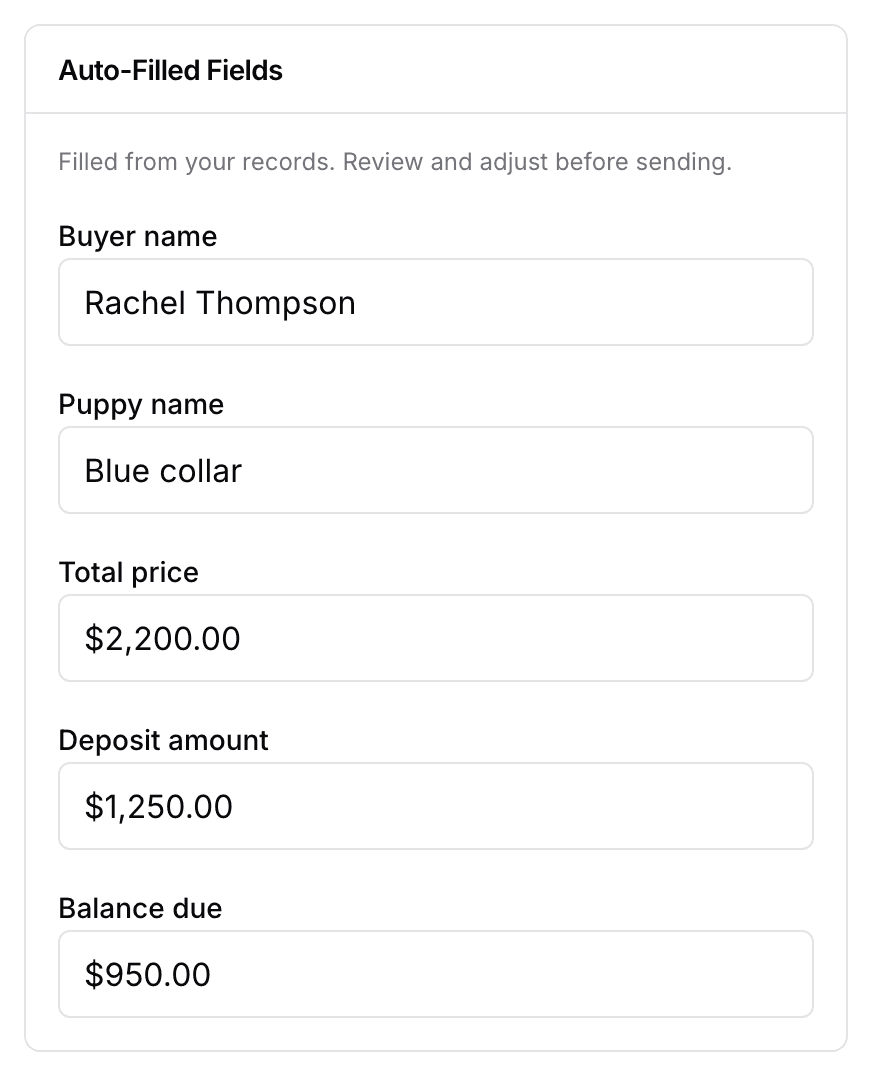
- Select Sign & send and confirm.
- Sign in the Add your signature window that opens.
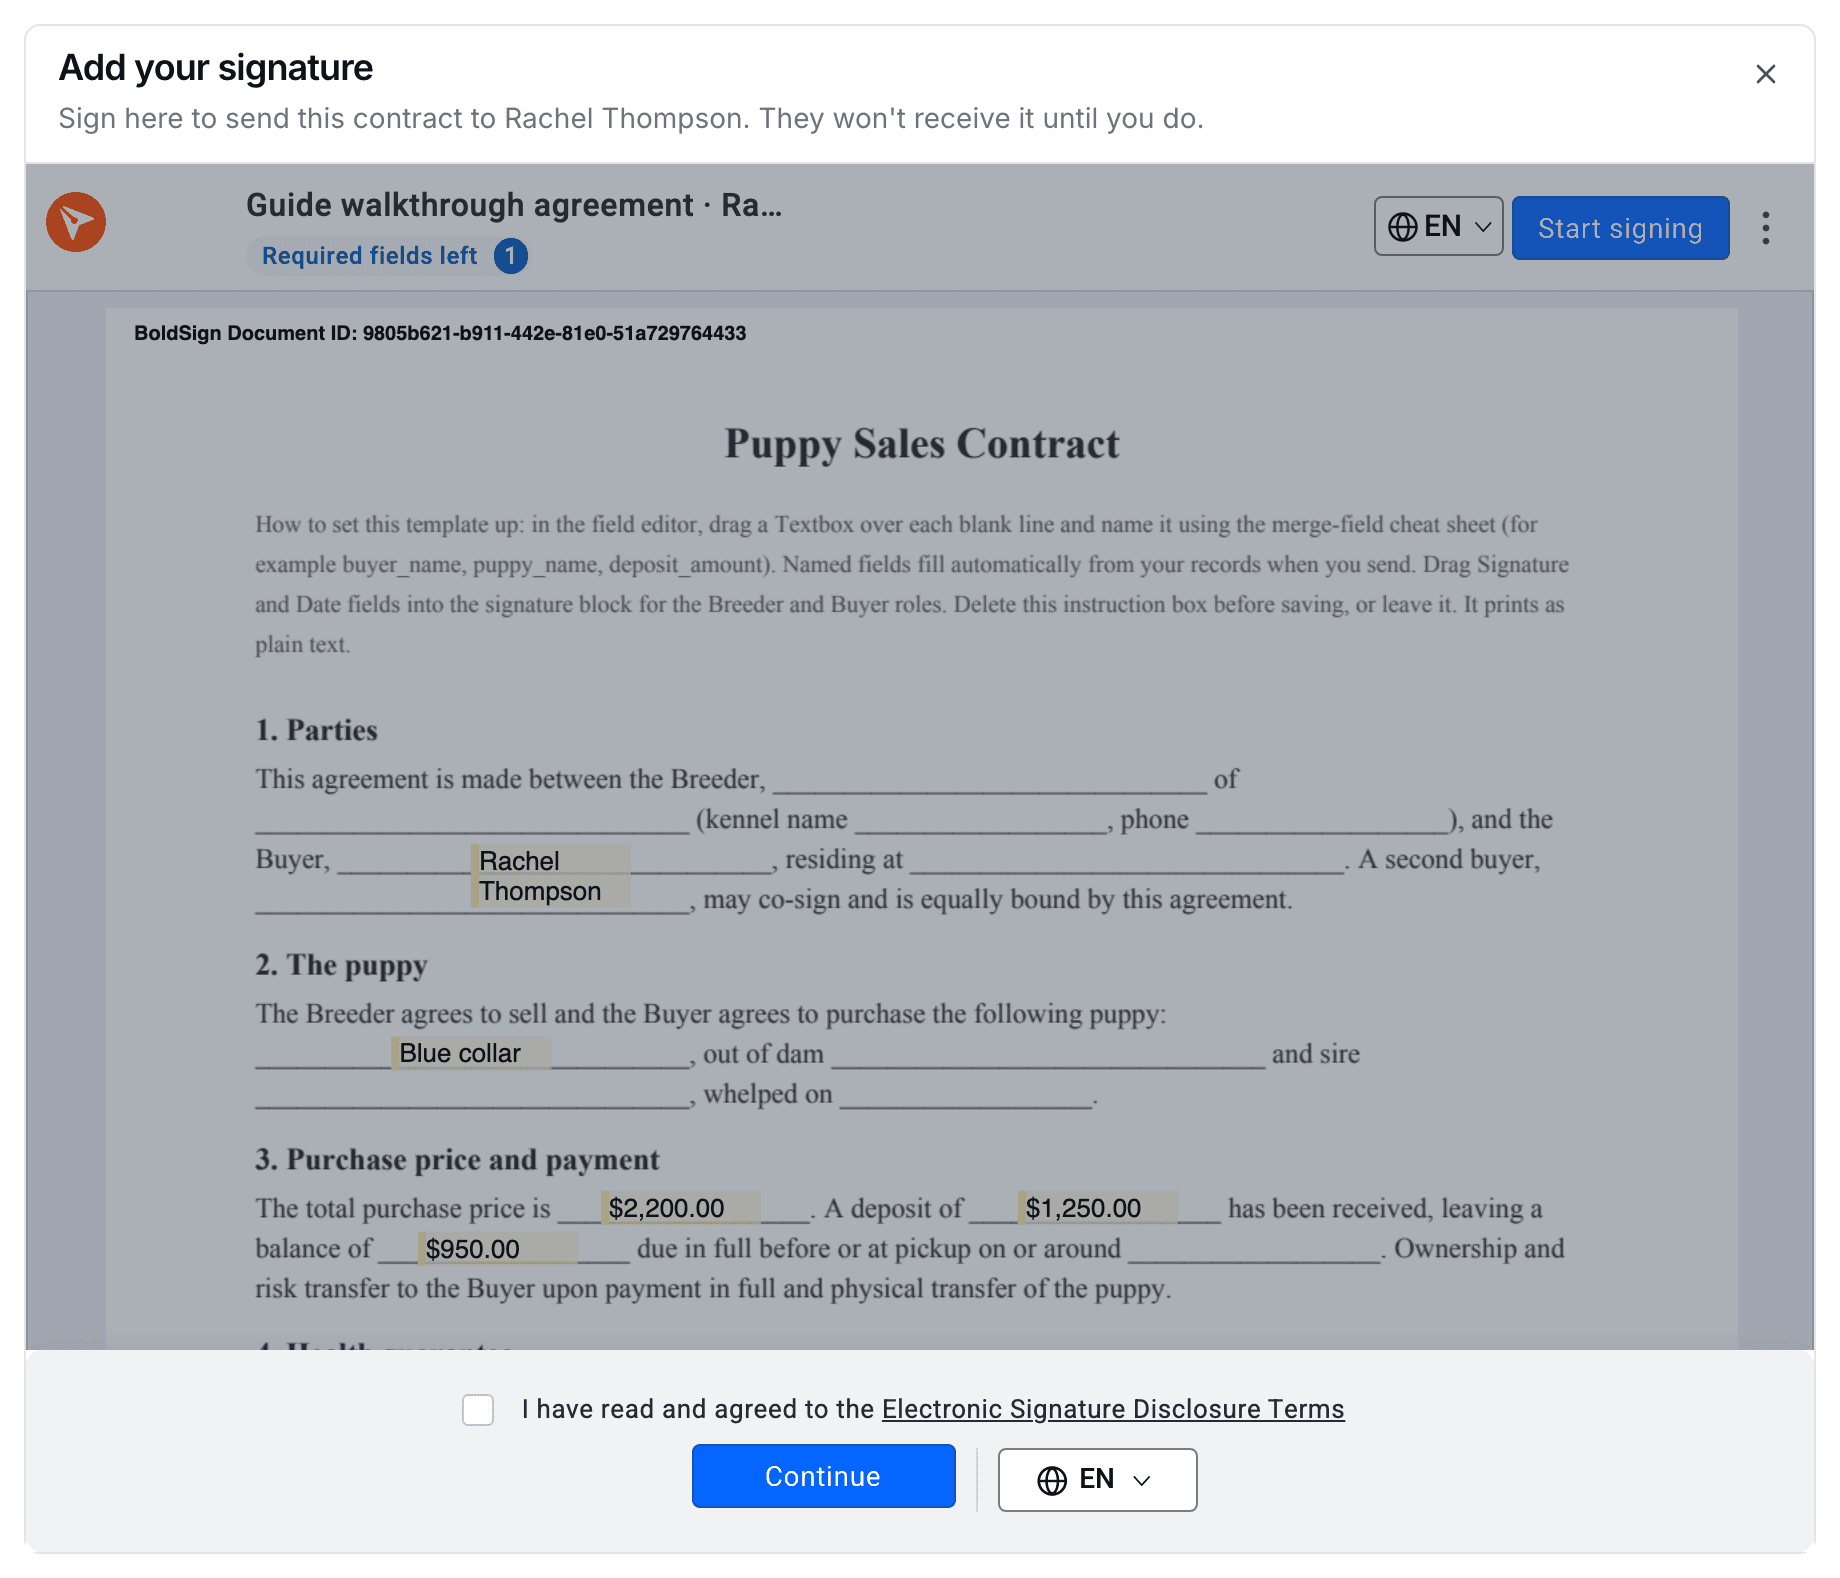
Use the Fill Manually card to complete any field BreedTracker could not fill. The family is emailed only once your signature is in. Download filled PDF (free) on the review step gives you the filled contract without sending anything.
How the buyer signs the contract
The family gets an email from BreedTracker with a Review & sign button. It opens a signing page carrying your kennel name. Their boxes are marked, and yours is already signed. When they finish, the page reads You're all set!
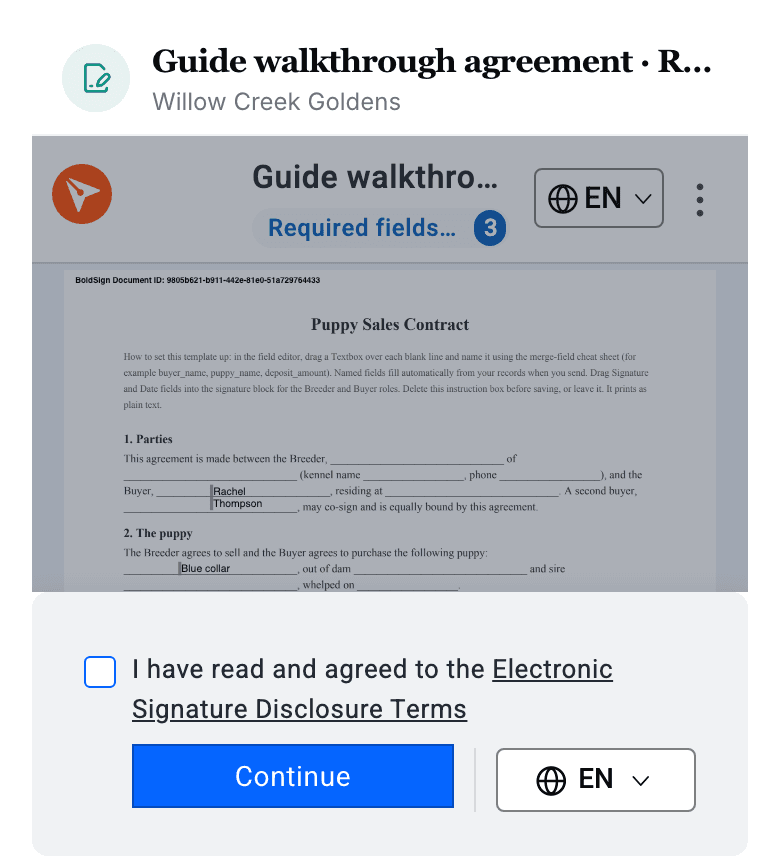
Their portal carries the same contract while it waits. The card there reads Waiting for your signature, with a Sign now button. The completed PDF then lands in the portal's documents. See How a buyer pays an invoice and signs a contract and Set up a puppy buyer portal.
Track signatures, reminders, and deadlines
The contract's status reads Sent, then Waiting on Buyer once someone has signed, then Completed.
- Send reminder: emails a fresh link to whoever has not signed.
- Extend deadline: moves the expiry date and tells them.
- Cancel contract: stops every signing link at once. A cancelled contract cannot be reopened.
The completed PDF and its audit certificate are saved on the contract for you to download.
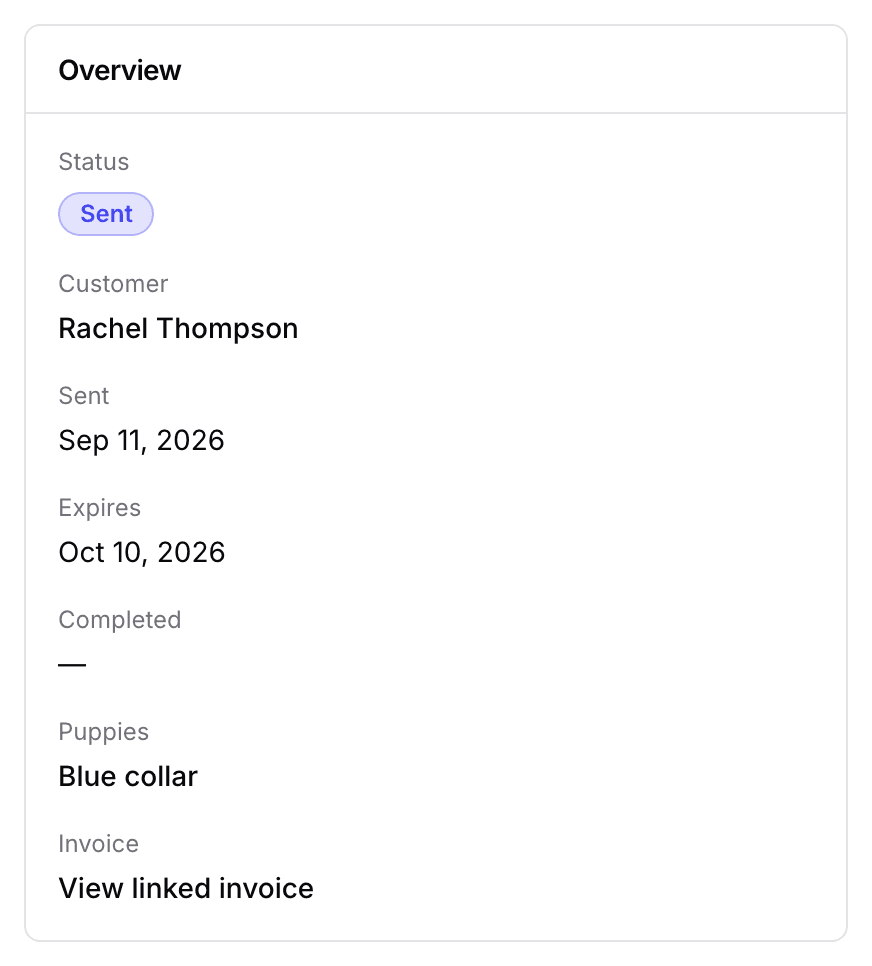
Upload a signed contract
- On the family's page select Actions, then Add contract, then Upload a signed contract.
- Select Choose file and pick it: a PDF, Word file, JPEG, PNG, or HEIC, up to 25 MB.
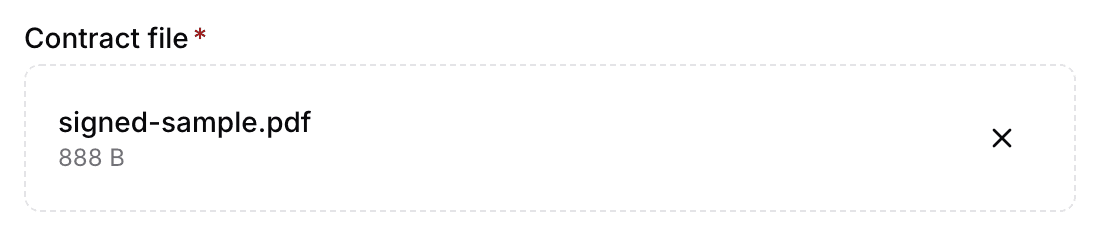
- Set the Title and the Signed on date, and tick the puppy.
- Leave Share in buyer portal on, then select Add contract.
An uploaded contract reads Uploaded · signed with the date on it. You can edit its details or delete it later, and your own copy of the file is not affected.
Next
Did this answer your question? If not, we would like to know what you were looking for.
Email support